Minneapolis Backyard

How to Make a Backyard Pond

Building a pond water feature that’s aesthetically beautiful and functional takes proper design and installation. There is a lot to a pond water feature, and it’s a topic I could delve into the small details on for hours. But for the purpose of this blog, we’ll focus on the big elements. Before I continue, I’d like to mention a great resource for those with water features and for those looking to add one in the future. The Minnesota Water Garden Society, MWGS, is a club of water feature enthusiasts that meet monthly with amazing professional speakers. I’d encourage everyone to check them out (www.mwgs.org).

Water Feature Design and Placement

Backyard pond layout how to build

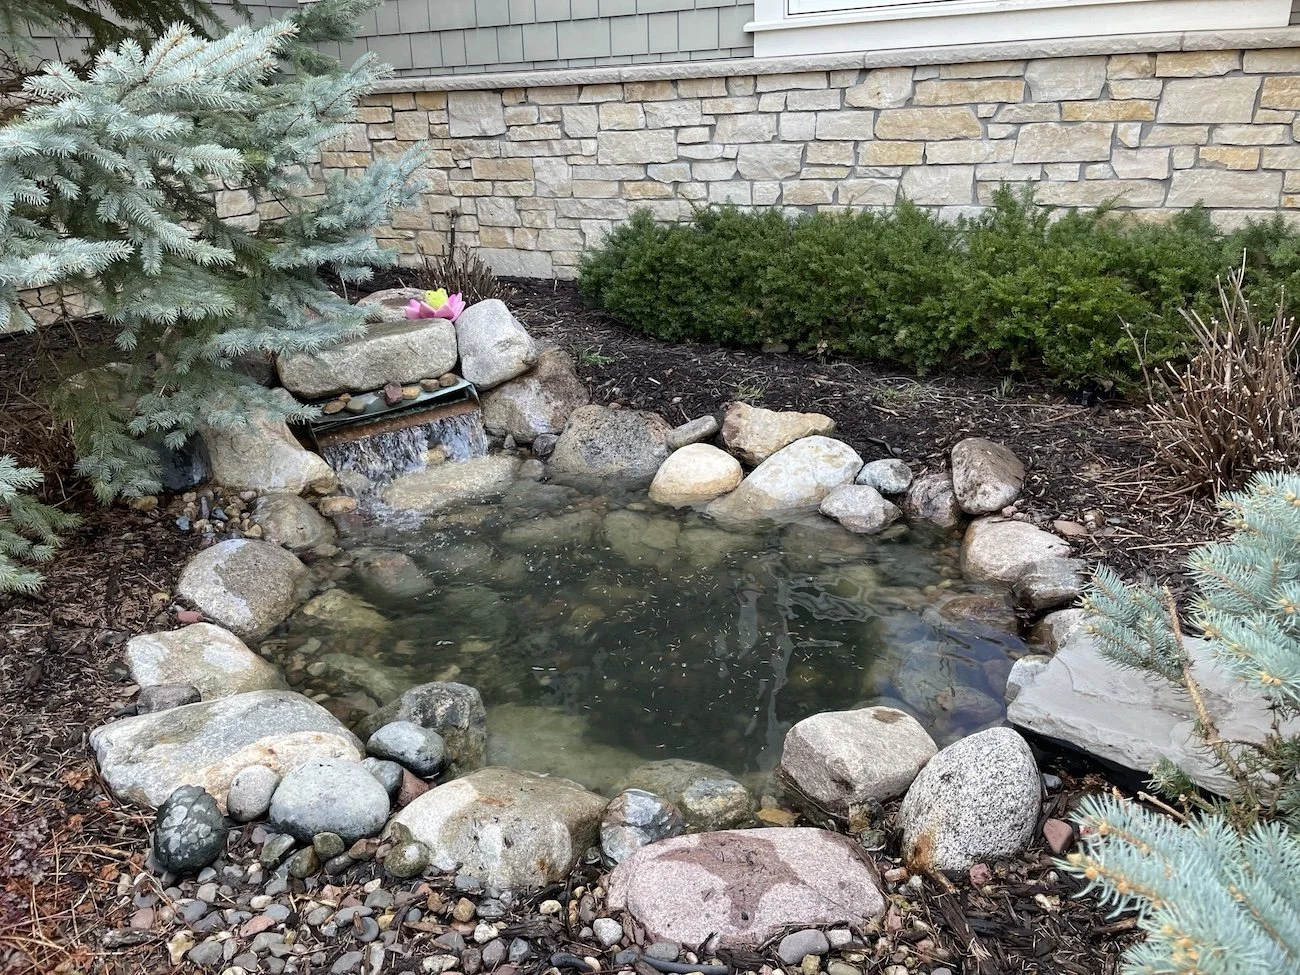
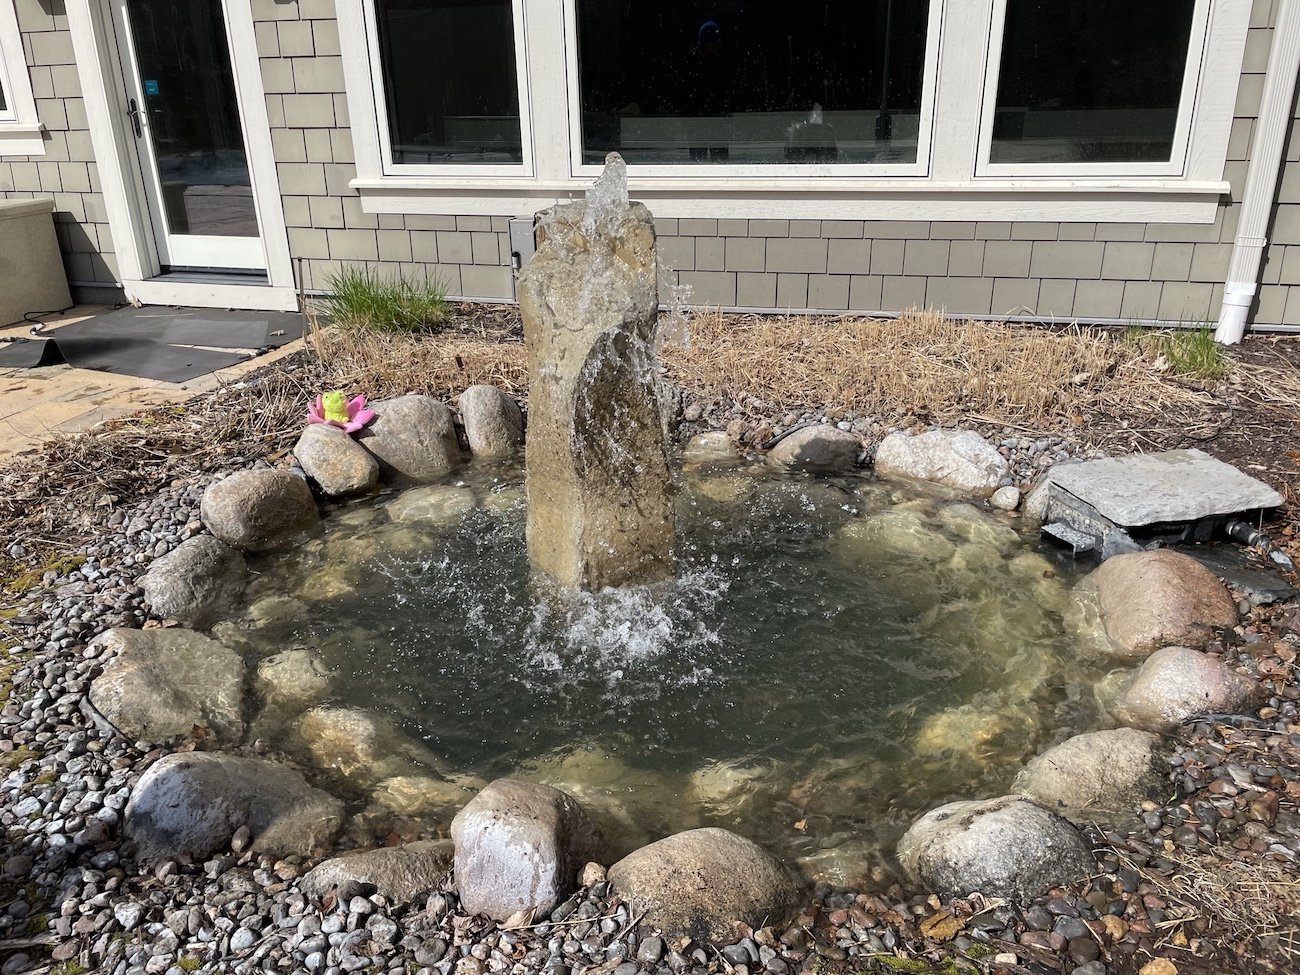
Ok, here we go. The first is to decide on the type of water feature and where to place it. Options of water features include fountains and statuary, pondless water features, ponds, and rec ponds. There really is no right or wrong, simply what you like and how you envision it is complementing your yard. For this blog, we’ll go with selecting a pond water feature. The next step is where to place it. I like to encourage the homeowner to give thought on sight lines from house windows, decks, patios and so forth. This increases the enjoyment of the pond even when you’re not right next to it.

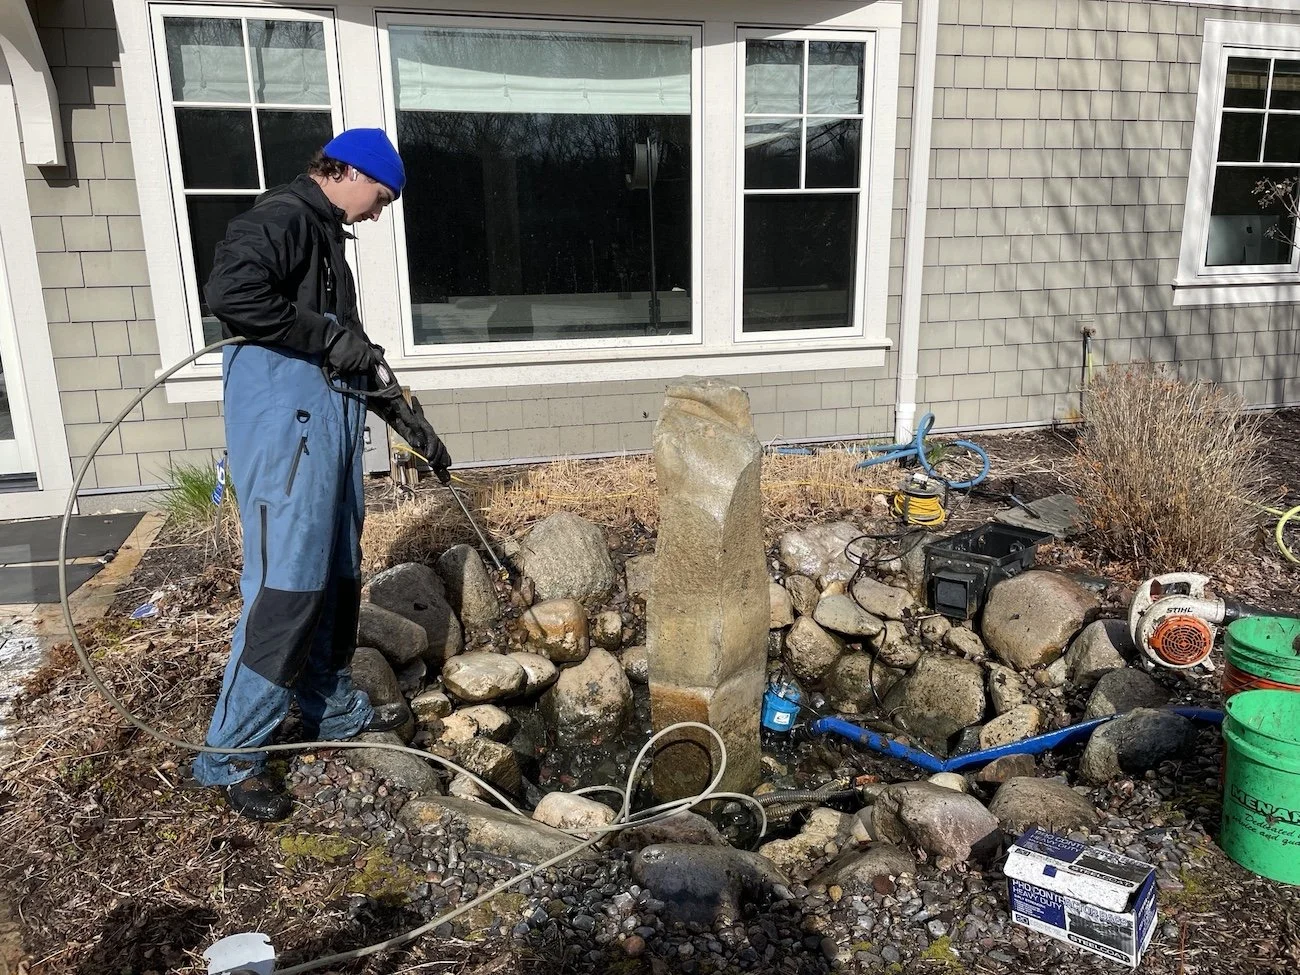
Great. The style of the water feature pond and location has been selected. Now to determine the size. I’ve had great success with using a garden hose as way to layout the pond. This works well because the shape of the pond and size can be easily changed and it provides fantastic visuals. Take this for what it’s worth: I’ve never had a client regret making the pond too big, but plenty wish it was bigger years later. So, I tend to encourage homeowners to go big.

Mark The Utility Lines

STOP. Before going any further call someone to mark your utility lines. In Minnesota, Gopher State One Call is my recommended option. This is a free service that will come out and mark all the utilities in the project area. Do this approximately 1 week prior to digging. Never skip this step. It may save your life.

Dig The Pond

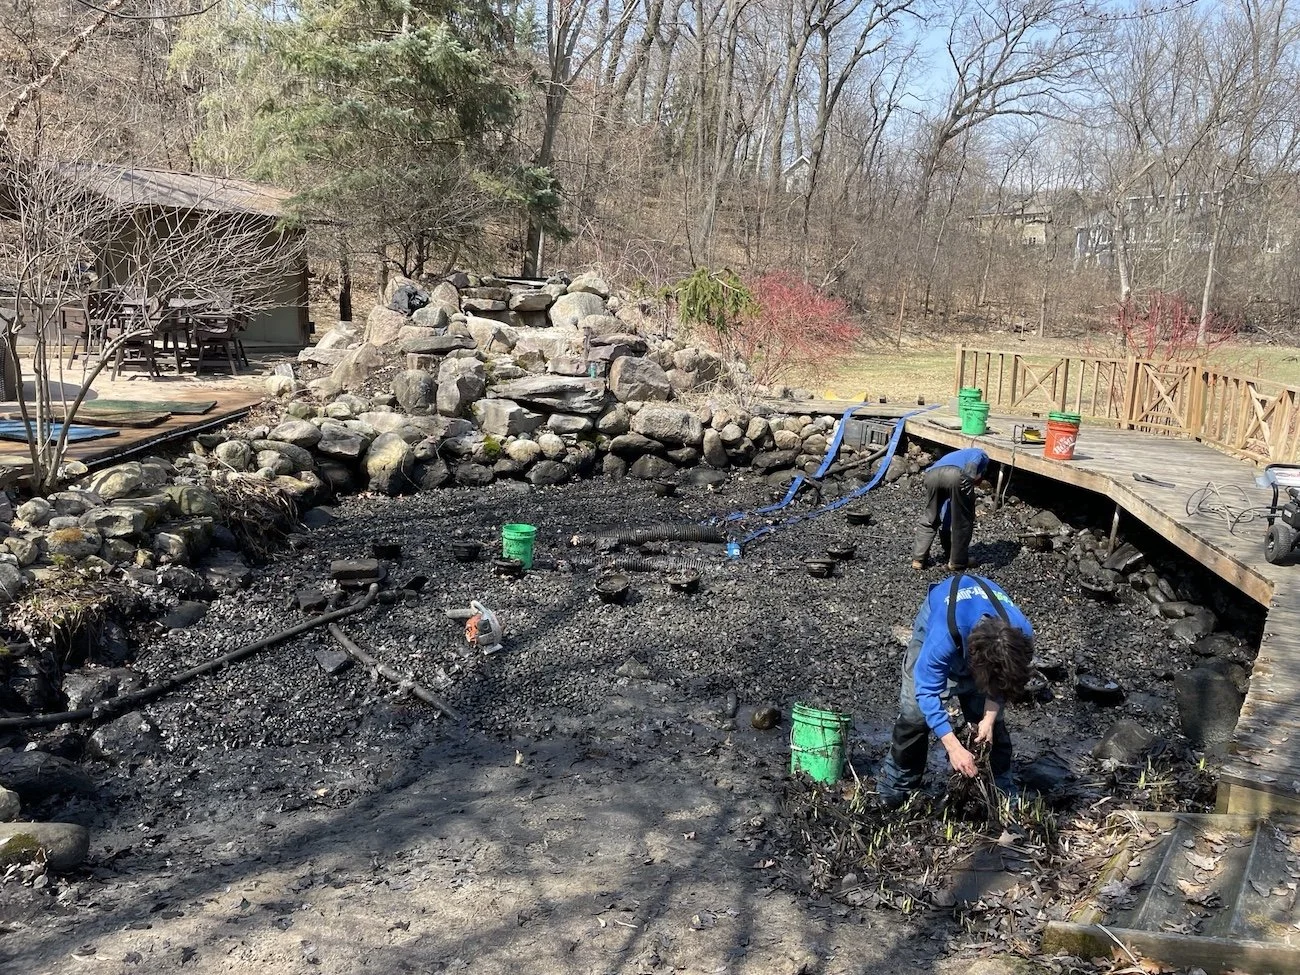
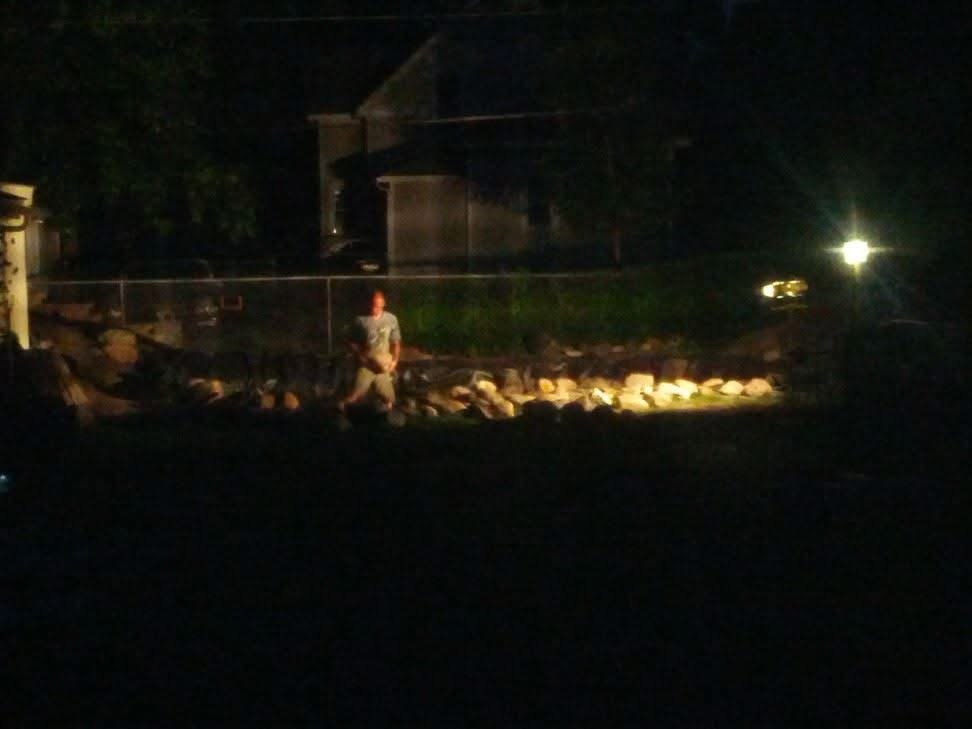
It's time to start digging! Depending on the size of the pond, the soil and if you have a strong back and a lot of motivation you can certainly hand dig the pond. It’s amazing what a shovel, wheelbarrow and floodlights can accomplish. In fact, that’s what I did on my personal pond when I built it 11 years ago. Now, I was motivated, in great shape, dealing with sand and quite frugal. But when we build a client’s pond, we typically use an excavator.

A couple notes on the excavation. If fish are desired, we recommend making the depth of pond approximately 3.5’, this will help keep the temps cooler and help winter over the fish. Then, we carve ledges to go into the pond. This allows for easy access in and out of the pond. Ledges also make rocking the pond easier and provide great areas for future plantings. A typical ledge is approximately two feet high and two feet wide. The soil excavated in the pond is repurposed for the headwaters, ideally none of the removed soil is hauled away.

Construct Pond Structure

pond structure outside how to build backyard ponds

A hill/berm is built up at the headwaters where the waterfalls and stream(s) will be located. We then construct a Natural Filtration System or Up Flow Bog as the main source of filtration. A Natural Filtration System uses space fillers, called Rescubes or Aquablocks, rocks of different sizes and annual aquatic plants to filter the water. The roots from plants use nitrogen in the water to grow, creating a functional ecosystem. To learn more about Natural Filtration Systems, check out this YouTube video.

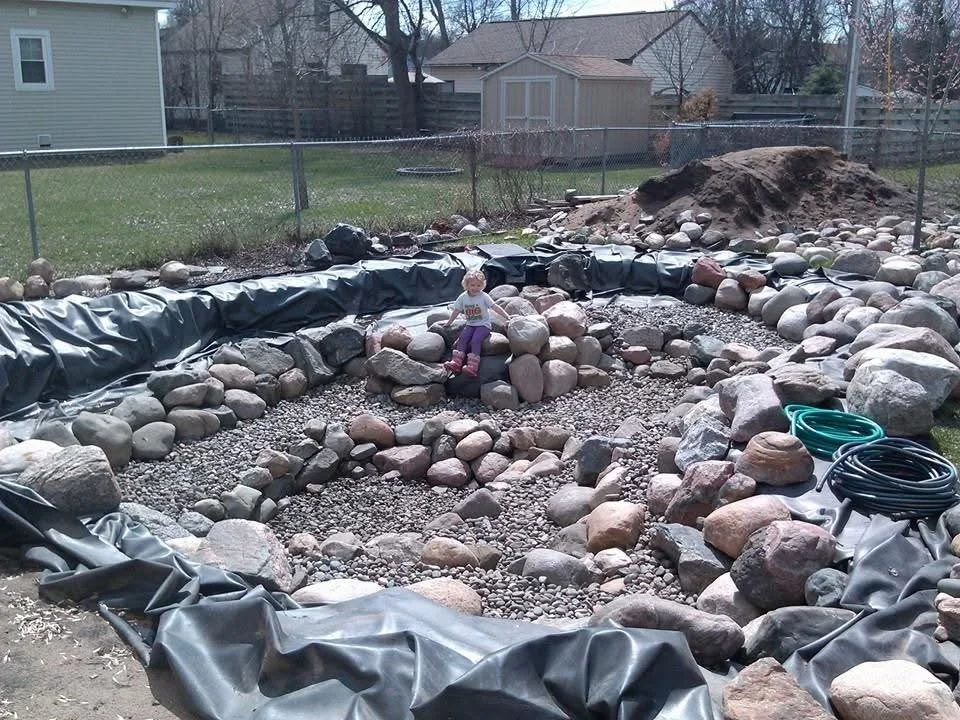
Streams are carved giving a great deal of thought on future rock placement. We typically select and measure boulders, then we dig “rock pockets” for them to be placed a bit. The next step is to place underlayment in the pond, stream and Natural Filtration System. Underlayment is a thick felt that protects the liner from anything sharp in the soil. The industry standard is 45 mil EPDM rubber liner, and no other liner should ever be used. Depending on the size of the pond you may need an additional helper or two to help you install the liner, this is due to its heavy weight. A couple of suggestions on laying the liner. Have at least one foot liner along the sides of the pond, stream and Natural Filtration System. Excessive liner can be cut once the installation, including rocking, is completed. If more than one piece of liner is needed make sure to overlap the liner at a drop, like a shingle on a roof. The overlapping will ensure no leak will take place and there won’t be a need to seam the liners together.

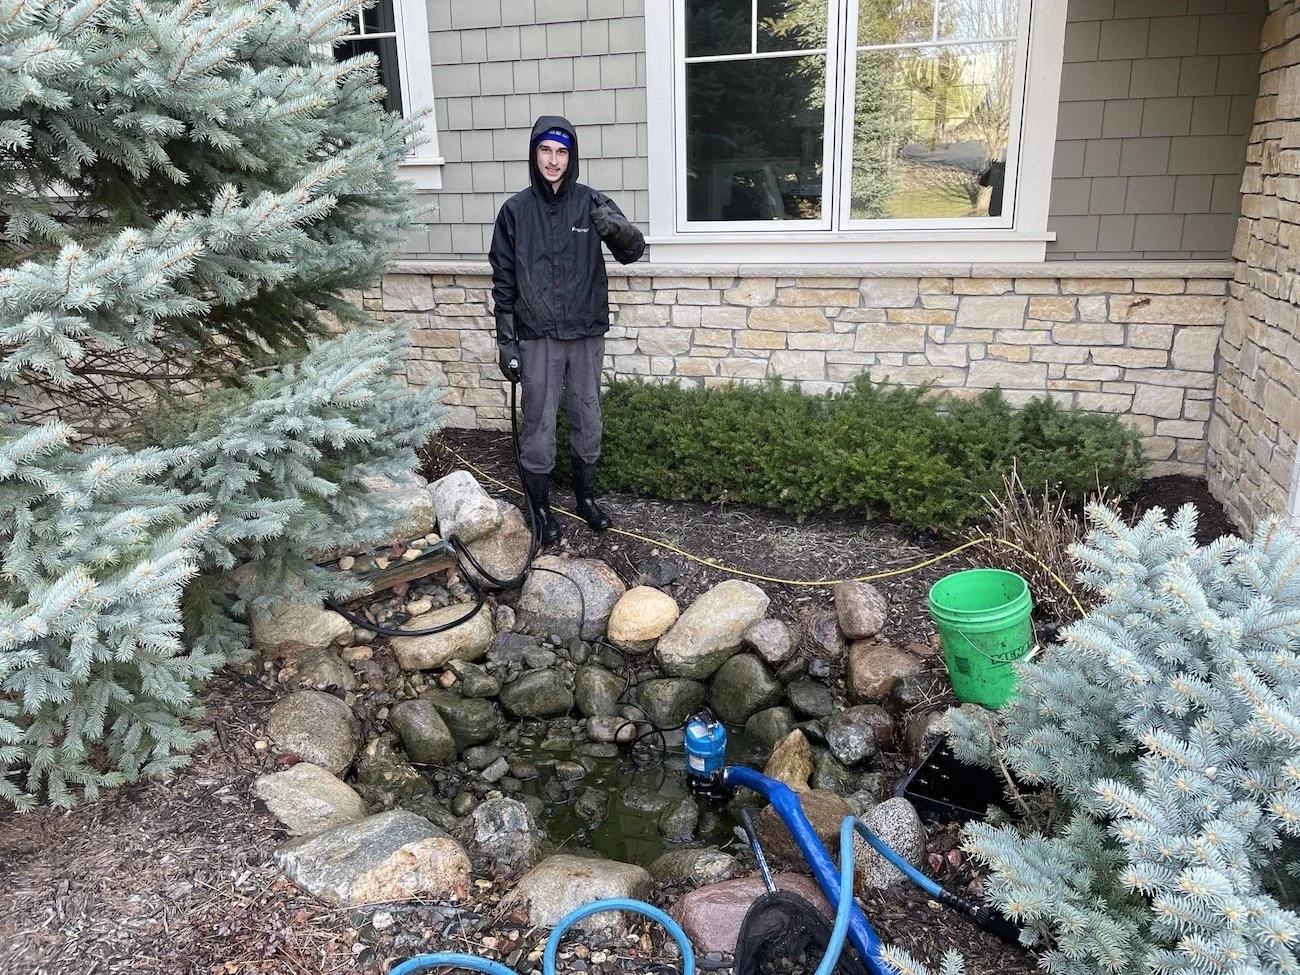
A skimmer box and hose are then installed. A skimmer box should be placed opposite the waterfall along the side of the pond. This placement will maximize the skimming function of the skimmer and prevent dead, non-circulated, areas in the pond. The size of the pump is determined by the volume of water in the pond. A good rule of thumb is to turn the water in the pond over once every hour, so if the pond holds 6,000 gallons your pump should be 6,000 gph. If the pump is 6,000 gph or less, you can use 2” flex pvc hose. However, if the gph exceeds 6,000 the hose size will need to be 3” in diameter. Id’s say 95% of the water features we build, and service use 2” diameter hose.

Place Rocks

Pond rocks how to build backyard ponds

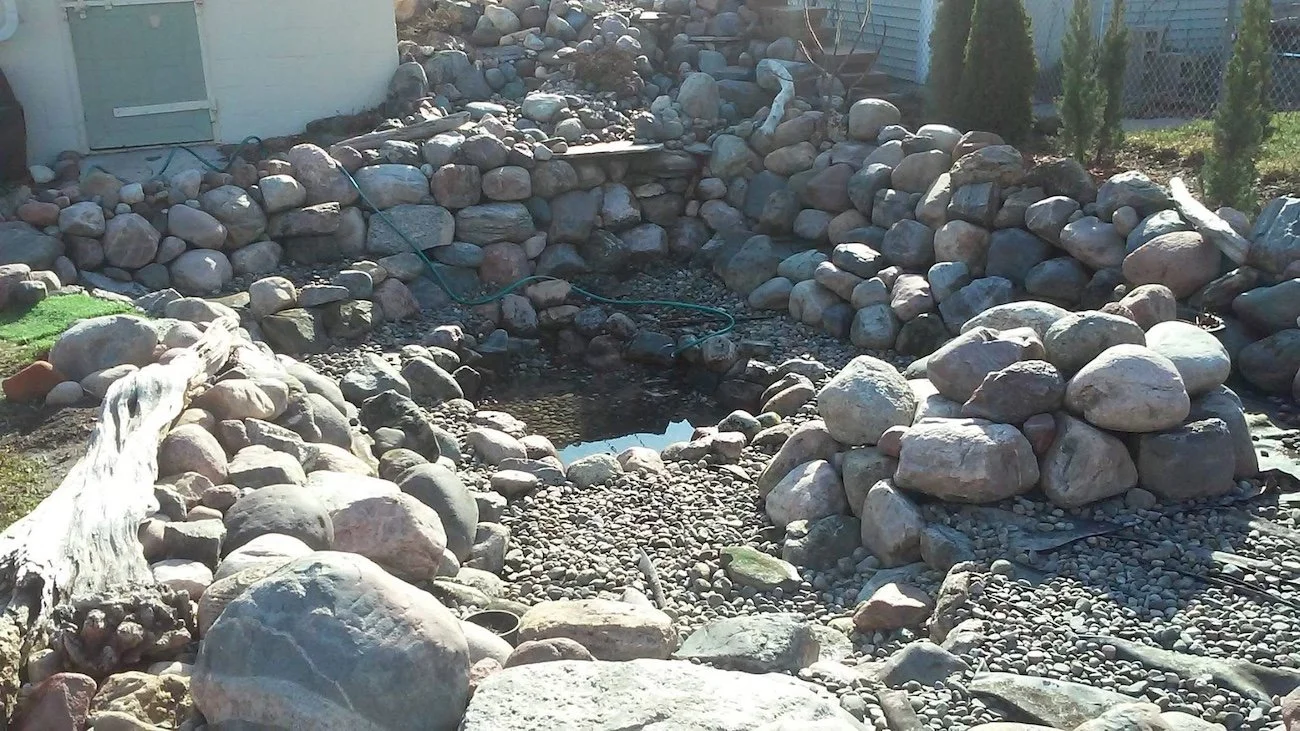
Now the fun really begins! Time to start rocking. A bit of a geology lesson: 10,000 years ago, the last Ice Age was ending. As the glaciers retreated, glaciers scooped up the rocks and boulders and redistributed them all over where Iowa, Minnesota, Wisconsin and Michigan are now. Therefore, the Midwest has an abundance of relatively beautiful and cheap glacier fieldstone. These rocks and boulders come in variety of sizes, shapes and colors and are often a great choice for a Minnesota pond water feature. There are plenty of other rock options, so it’s always a great idea to visit your local rock yard to select what you like. They may even allow you to mark specific “special” boulders you like to be part of the rock delivery as well.

A couple of notes on rocking your water feature. Think of rocking your water feature as completing a puzzle. Fit the rocks together and give a lot of thought to mimic rocks in nature. Use smaller rocks in the gaps of the boulders to lock them in place. If the boulders are too large to be placed by hand, they will need to be safely brought in with a tow strap and an excavator. There are great videos on YouTube that show this process; however, if the boulders are too big to be brought in by hand, I’d suggest hiring a professional. If the boulder is sharp or very heavy, place a piece of underlayment or liner for extra protection.

To direct water flow over the waterfall drops in the stream use waterfall spray foam, this expands so don’t over foam. However, the foam can be cut with a sharp razor blade or knife once fully tried.

Add Plants

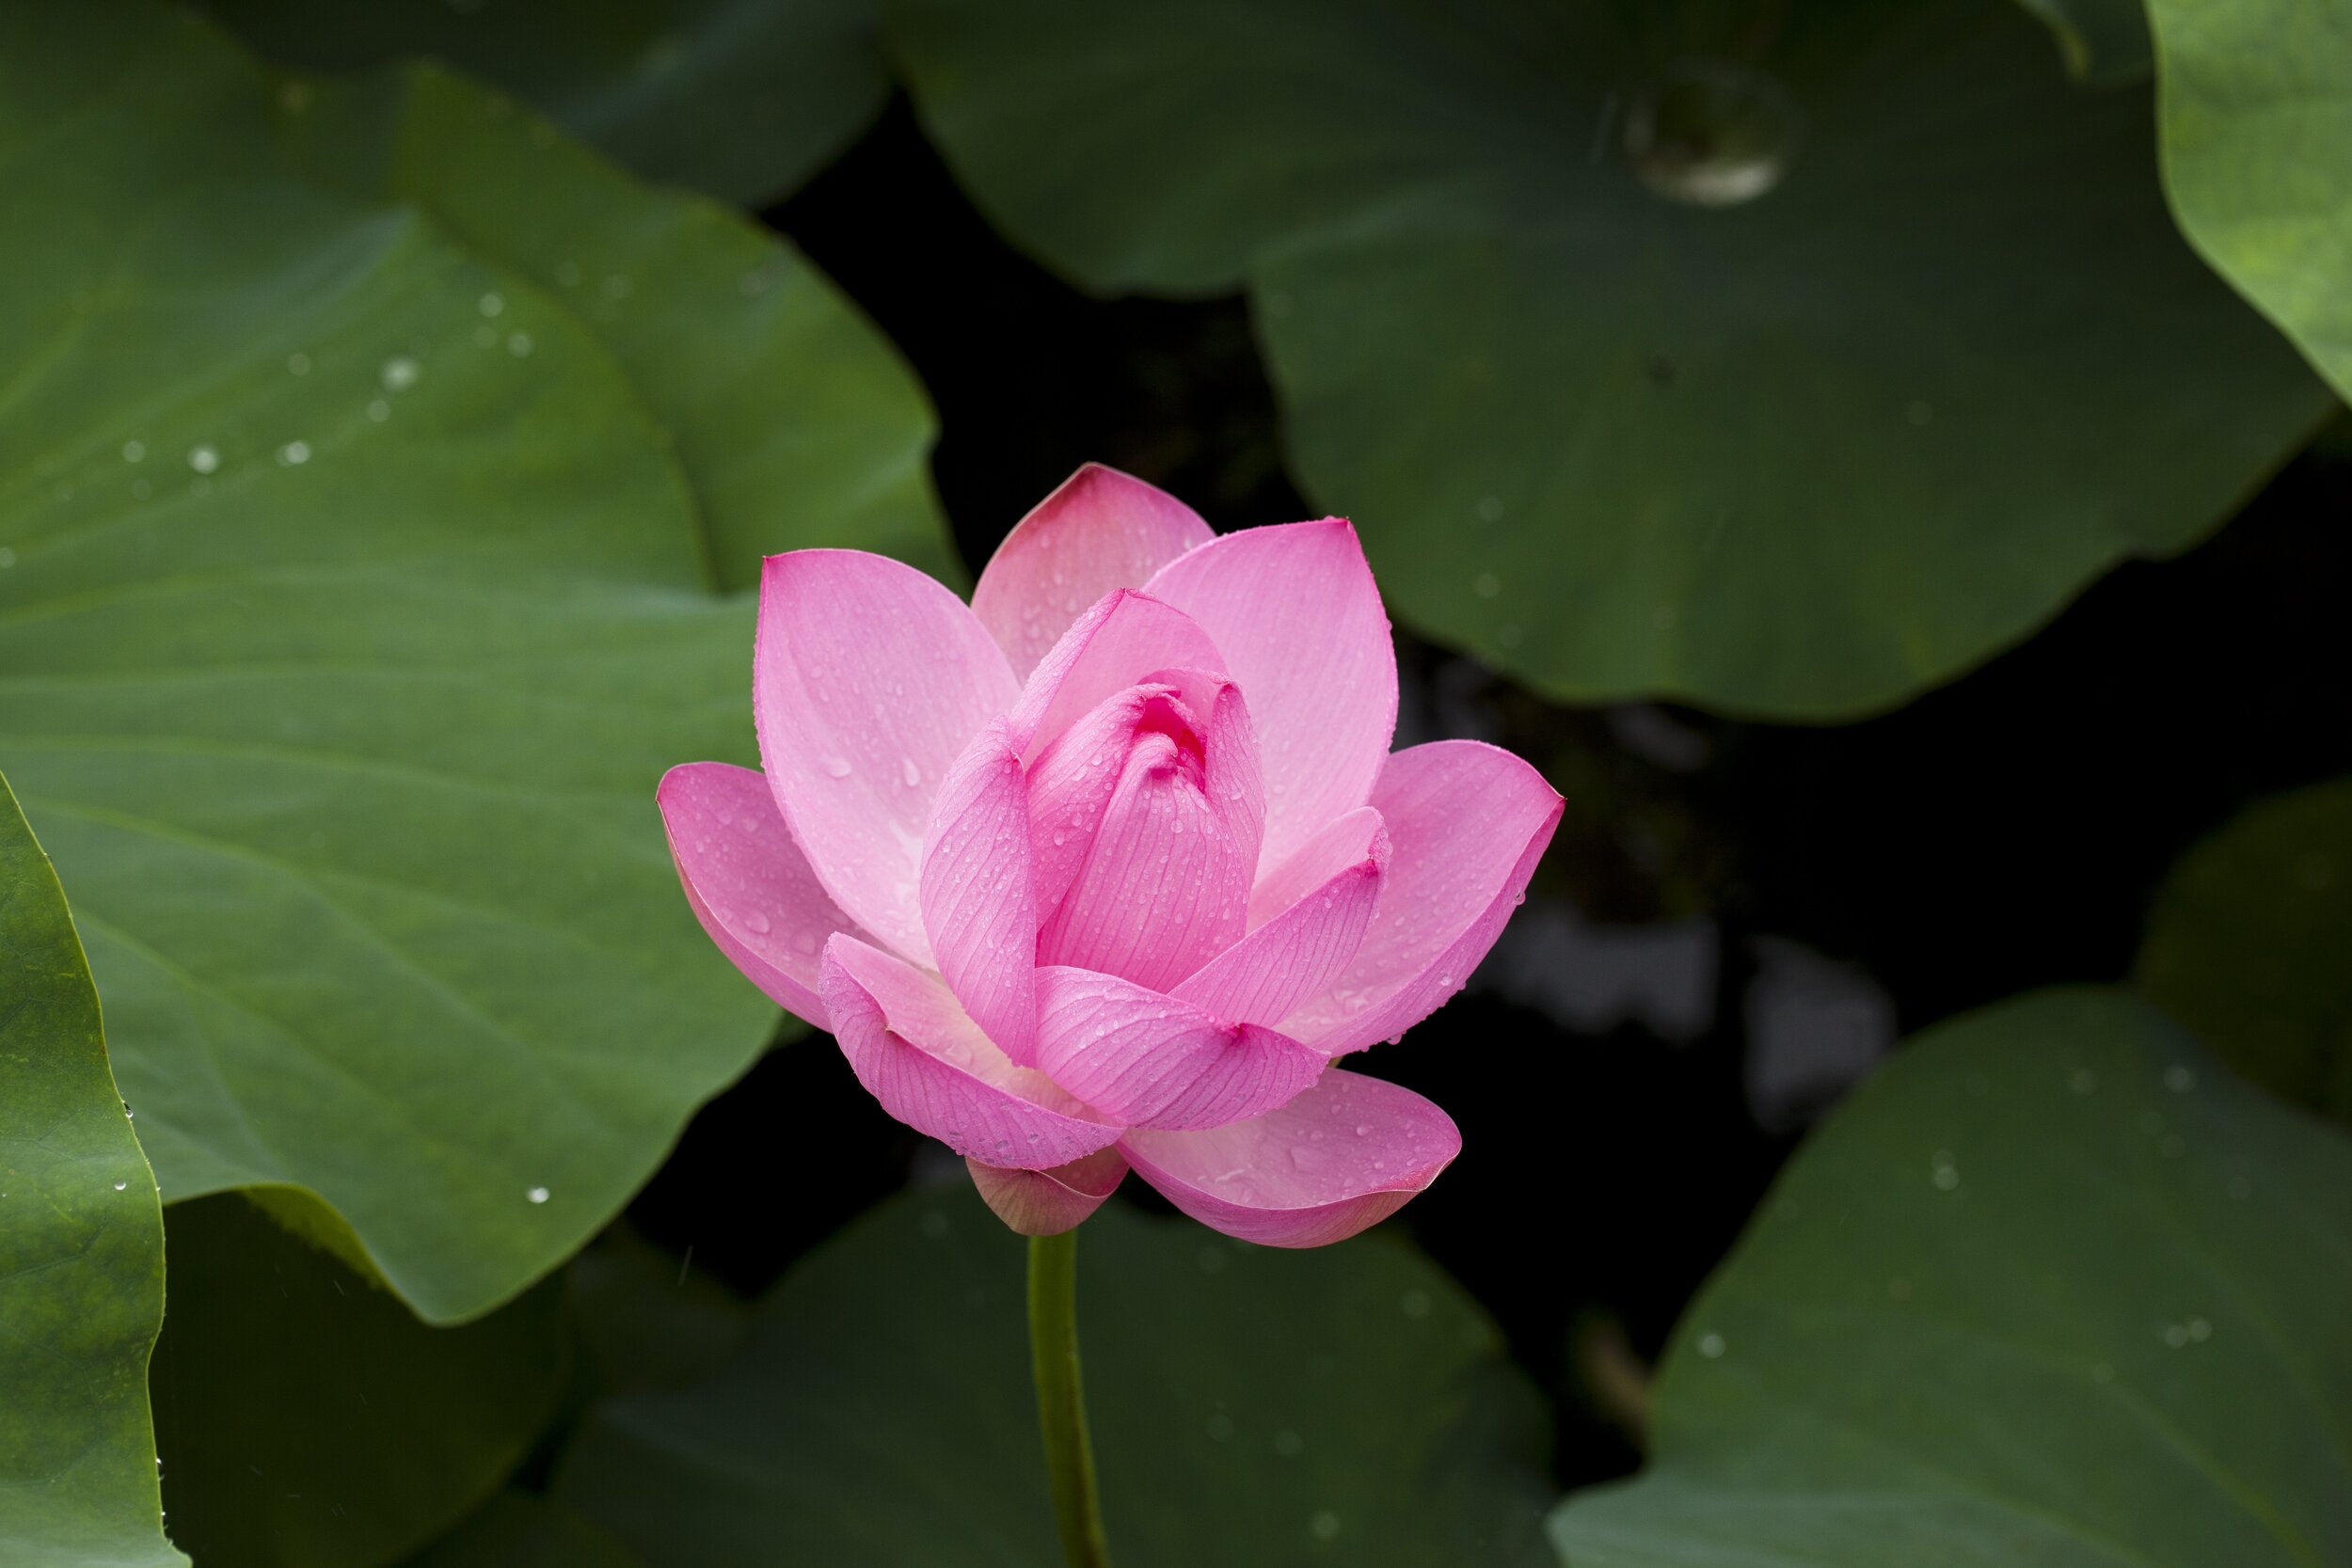
Once the pond water feature is complete it’s time to add plants. The Natural Filtration System can be planted with annual aquatic plants like ornamental cattails, water celery, water iris, arrowhead and so much more. In the pond itself consider water lilies, bog bean, sweet flag (I keep mine in pots due to fast spreading), and lotus.

Add the Details

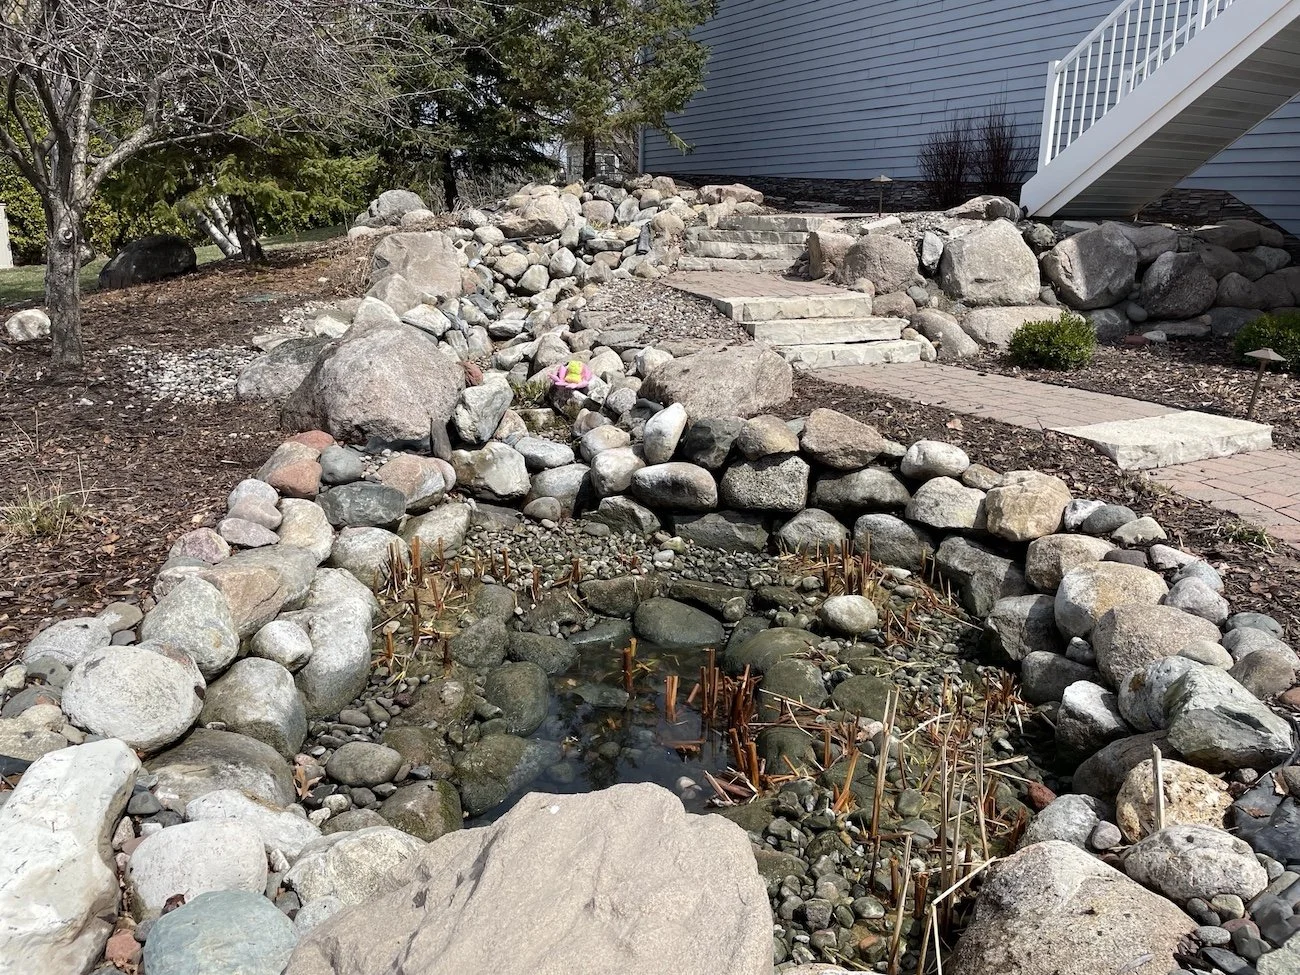
Lastly, some details to add to your pond water feature include a fish cave, lighting, driftwood and peripheral plantings. Plantings along the edges of the water feature, especially plants that spread over the rocks, help to soften the heavy rock look of a newly built water feature.

We love designing and building water features, and we take a lot of pride in constructing water features that work for each of our clients. We’ve built Japanese koi ponds with floating rock bridges and tea houses to large duck ponds and ponds to swim in. So, if you can dream it it can be built. Time to turn that dream into a reality!

How to Clean Your Backyard Pond or Water Feature

Cleaning a pond or water feature is crucial for health, aesthetics, and function. It removes harmful debris, algae, and parasites, which prevents oxygen depletion, disease for fish, clogged pumps, and nutrient buildup. This ensures a balanced ecosystem and clear, beautiful water for plants, wildlife, and enjoyment. Neglect leads to murky water, sick inhabitants, and costly equipment failure, making regular cleaning essential for a vibrant feature.

Cleaning a water feature should occur every spring once the ice has fully melted and the ground has thawed. Below is our checklist to clean and prepare your water feature for the upcoming season.

backyard-pond-rocks-clean-ponds-water-feature
dirty water feature how to clean your backyard ponds or water features

Spring Water Feature Cleanout & Start Up Process:

  1. Pump out existing water: we use a 2” discharge pump with vinyl hose to remove the water.

  2. Manually remove and bag leaf debris: we will typically place two 5-gallon pails of debris in a thick garbage bag to be transported to the compost site. Otherwise, the debris is fantastic for compost.

  3. Rinse entire water feature while pump discharges bad water: a garden hose with a spray nozzle is then used to rinse the entire water feature from the top down. During the rinsing process the discharge pump is placed in the lowest point of the water feature and is pumping out the dirty water and organic sludge.

  4. Power wash boulders and rocks: it’s important to wear safety goggles or a face shield to protect your eyes and face. Wearing rain pants and a rain jacket is also a must.

  5. Rinse entire water feature a second time while pump discharges bad water: the algae that was blasted off the boulders with the power washer now needs to be rinsed to the bottom of the water feature (pond) and pumped out.

  6. Clean skimmer box, skimmer box filters/net/basket and clean headwaters: a small 1/3 horsepower pump connected to a garden hose works wonders.

  7. Remove and discard dead animals: unfortunately the removal of dead fish, mice, voles, moles rats, squirrels, possums, frogs, turtles and so forth are part of the process.

  8. Test pump to make sure it discharges water properly: prior to installing the pump(s) to the hoses they should be tested in a 5-gallon pail of water to ensure they are in proper working order.

  9. Assemble pump back onto hose in skimmer or pump vault: most pumps are attached to a hose with a threaded collar or rubber coupler with hose clamps.

  10. Fill up water feature with new water: water features are filled using a garden hose and if the pond is large a healthy dose of patience.

  11. Add dechlorinator and start up bacteria to new water: if the pond will contain fish, which are removed and placed in a stock tank during the cleanout, and the house is supplied by city water, dechlorinator will need to be added to make the water safe for fish. Adding beneficial bacteria to the water feature is essential to create balance ecosystem.

  12. Visually inspect water feature when running: once the pond is cleaned and running it’s important to visually inspect the water feature. Keep an eye out for water existing the system and for any potential repairs.

Pumping water out of feature how to clean backyard ponds

Pumping out existing water

Clean out debris how to clean backyard pond water feature

Manually removing debris

Powerwashing rocks how to clean backyard pond water feature

Power washing rocks

Finding a turtle how to clean backyard ponds water features

We found a turtle while cleaning

 
Cleaned pond how to clean backyard ponds water features
 

Want to sit back and relax while the professionals clean out your pond to prepare for the spring? Sign up for our Spring Pond Cleanouts to get to relaxing.

So, what is a Pond Consultation?

Learning is the only thing the mind never exhaust, never fears, and never regret
— Leonardo Da Vinci

Leo as his friends would call him is regarded as quite the Renaissance Man, of course he was born during The Renaissance so it’s not surprising.  Kidding aside, what does Leonardo Da Vinci have to do with ponds in Minneapolis?  It’s all about learning, it’s all about doing better.  Our goal is for you to fully understand your water feature which will in turn lead to more enjoyment.

pond-maintenance-Minneapolis-backyard-ponds.jpg

It’s not unusual to get a call from a frustrated new homeowner with a question about a water feature they’ve inherited.  They are looking for answers and oftentimes do not even know the questions to ask.  Can this be handled on the phone?  Yes, however being on site to see the water feature and to answer questions is always the best options.  Therefore, DIWhy offers evening on site pond consultations. 

A pond consultation runs approximately one hour, and we teach homeowners about basics of maintaining the water feature.  The consultation will cover filtration, aeration, water plants, fish, biological additives, how to improve the water feature, pest control and so much more.  Our goal is to provide everyone with the resources needed to care for their water feature and thus maximize the enjoyment.  The cost of a one-hour evening pond consultation is $100, but here is the kick, if there are improvements or repairs needed and you hire DIWhy to resolve these issues DIWhy will take the $100 consultation fee off that price (minimum $400 of work).

pond-maintenance-Minneapolis-backyard-ponds.jpg

DIWhy services the entire metro area of The Twin Cities and The Twin Ports and we have worked on hundreds of water features.  Our experience comes from not only working in the field but also through workshops and networking with other pond contractors and pond suppliers and problem solving with some of the best…in the business.  We’d like to share this knowledge with you so you can enjoy your pond and the water garden hobby. 

The noblest pleasure is the joy of understanding
— Leonardo Da Vinci

Stressless Oasis

outdoor-pond-maintenance-Minneapolis.jpg

Pond care can be a labor of love.  CAN BE.  It takes desire, time and knowledge to keep a water feature a healthy functioning ecosystem.  Keeping a pond in balance using the pond’s designed filtration (whether natural or mechanical) with water plants, fish and biological additives can be a delicate task. Many homeowners revel in this task and water gardening provides a great way to enjoy the outdoors and to relieve stress.  However, for others their pond becomes a source of frustration.  Keeping that oasis beautiful now becomes a summer chore.  That’s where DIWhy comes in.  Starting in April 2020 DIWhy will offer Seasonal Maintenance Contracts!

How does a Seasonal Maintenance Contract work?  Every other week a DIWhy employee will be out to complete the following tasks:

·       Clean skimmer box net/basket/filters/brushes and pump 

·       Fertilize and trim and water plants

·       Change light bulbs

·       Add biological additives such as algicide, barley extract and beneficial bacteria

·       Weed along the peripheral of water feature

·       Adjust auto fill and/or pump auto shutoff

·       Net any floating debris

·       Visually inspect the water feature and make repairs if needed

·       Feed fish

Minneapolis-backyard-pond-maintenance.jpg

Our maintenance visits begin after the Spring Cleanout & Start Up and run all season until the water feature is shutdown the last week of October.  So why choose DIWhy?  We are a full-service pond contractor that focuses on one thing, water features.  We build, repair and maintain water features and this has given us extensive knowledge in all aspects of water gardening.  We’ve worked with ornate fountains, bubbling boulders, pondless water features, small to large ponds, cement ponds, natural water filtration, mechanical filtration, uv filtration and so much more!  

So, what does it cost?  Each maintenance visit is $89.  The only other cost is the product (pond chemicals, light bulbs and so forth).  Large repairs are billed separately, and consent is given by homeowner prior to beginning the work.

Contact DIWhy for a Seasonal Maintenance Contract and transform your feature into a stressless oasis today!  Imagine stepping out your door and walking over to your water feature and simply enjoying the sights and sounds of the running water, the beauty of the water plants and the colors of the koi without adding to your to-do-list.

4 Winter Tips for Your Minneapolis Outdoor Plants

The first chilly days of winter are here for us Minnesotans. If you have outdoor plants in Minneapolis, it’s important to find ways to protect them as the snow falls. Some plants might be able to come inside during the winter, but what should you do for plants that have to stay outdoors, such as bushes and small trees? Here are some of our tips on how to keep your plants safe during the winter.

winterizing-outdoor-plants-pond-yard-Minneapolis.jpg

Mulching

Making and laying down mulch is a great way to protect your outdoor plants over the winter. Mulch made of ground up organic materials, such as leaves and grass, make a great barrier between your plants and the winter air. It regulates the temperature of the ground and has great nutrients for the plants to use. It’s easy to make the right mulch and spread it over your garden bed and your plants. Remember to keep adding more as needed throughout the winter if you can.

Coverings

Some shrubs and bushes will do better over the winter if they are covered with a simple cloth or blanket. The coverings will protect your outdoor plants from the wind and harsh weather. If you want to provide these plants with extra insulation, place mulch around the plants before covering them to keep them healthy over the winter. Coverings can also help with smaller trees that have more vulnerable tree trunks.

outdoor-plants-winter-care-backyard-Minneapolis.jpg

Digging up bulbs

For plants that have bulbs, like cannas and dahlias, bulbs should be dug up and placed in pots over the winter to be ready for planting in the spring. Because most plants with bulbs are more common in warmer places, they will not survive over the winter.

Pruning

Pruning, or thinning out dead branches, makes it easier in the spring for your plants to grow in and look great. It is easier to do when it is dry and not bitter cold. Be sure to thin out your bushes and small trees before it gets too cold.

With this guide, we hope your plants will be happy and healthy throughout the winter and into next spring. If you want to sit back and relax and have the professionals take care of your backyard ponds and plants, contact us to learn more about how you can DIWhy it instead of DIY it.